Configuring Userify for Amazon Simple Email Service
Questions?
Email our fast, friendly support if you have a question not covered here: [email protected].
Step 1: Verify your domain
First, verify your domain with SES (under Identity Management).
This involves publishing TXT (and optionally but highly recommended, DKIM records as well) that prove you own that domain. It takes about five minutes for AWS to verify even after you have it configured properly. You need to do this via your DNS provider (Amazon’s SES configuration tool will help you through this.)
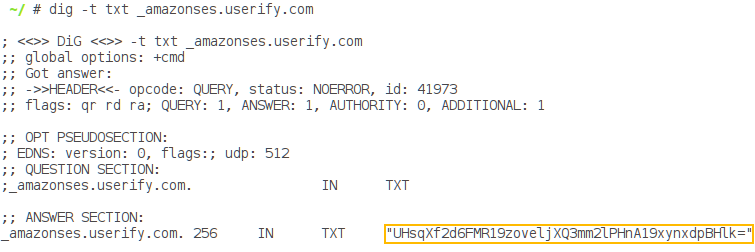
Test to ensure your domain is set up properly before AWS will verify you:

Linux:
dig -t txt _amazonses.yourdomain.com
Windows:
nslookup.exe -q=TXT _amazonses.yourdomain.com
IMPORTANT: Note the leading underscore _ for the TXT record.
Setting up SNS topics and subscribing to them can be helpful for troubleshooting.
If you are currently in the Amazon SES sandbox (in other words, you haven’t applied for full access), you will only be able to send emails to verified domains (your corporate domains). If you have contractors with separate email domains, you will have to apply to send email to non-verified domains here: http://docs.aws.amazon.com/ses/latest/DeveloperGuide/request-production-access.html (These restrictions only apply with Amazon SES, so if you are using other SMTP services, such as Mandrill, Mailgun, or Sendgrid, you will get full SMTP privileges without requiring further validation.)

Step 2: Set up an SMTP user at Amazon
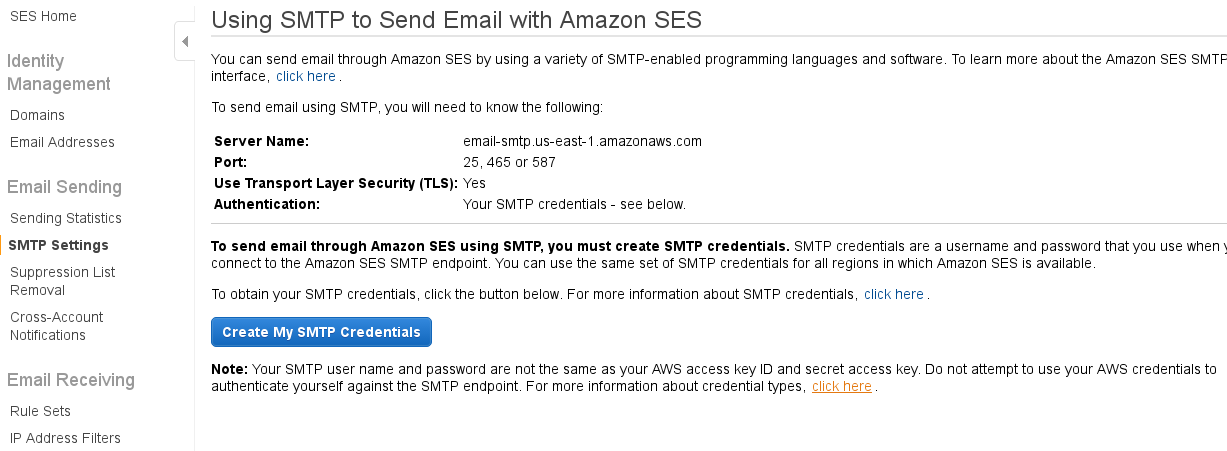
After your domain is verified, create SMTP credentials on the Amazon SES “SMTP Settings” page. Also take note of the server name that you’ll be using.
The SMTP credentials have the following form:
- IAM User Name (something like ses-smtp-user.xxxx , although you can change it )
- SMTP User Name (a standard AWS Access ID, i.e. AKIAxxxx)
- SMTP Password (a standard AWS Access Key, i.e., a long string)
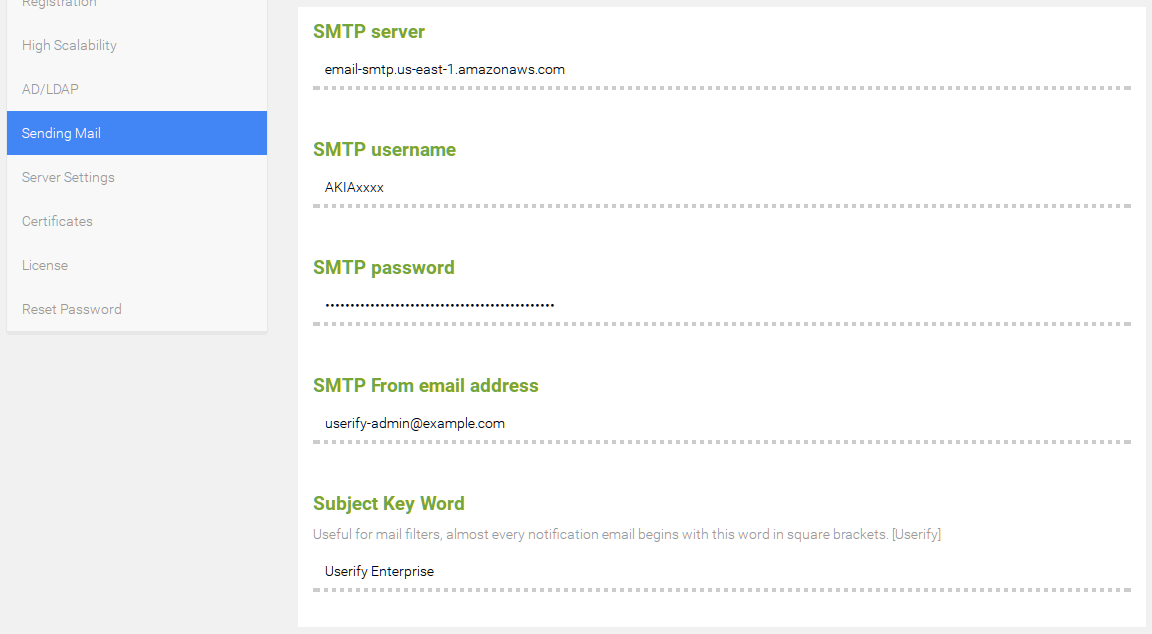
Step 3: Configure Userify with the above SMTP details:
 SMTP Server
The SESE SMTP server hostname as provided on the Amazon SES SMTP settings page above. Be sure to append :587 (for example, email-smtp.us-east-1.amazonaws.com:587).
SMTP Username & Password
Enter the SMTP username and password as provided on the Amazon SES SMTP settings page.
SMTP From email address
The SMTP from email address can be any email address in your verified domain.
This configuration can be complex, so please feel free to contact support with questions about this configuration.
Start managing your users and SSH keys in seconds Try for free